Thursday, May 19, 2016
Final thoughts
We have had many different thoughts on how to end and present our blog. We decided to create a power point to show what we learned about photography and add a few of the pictures we have taken. We will talk about different kinds of cameras along with their pros and cons. We will describe different ways to edit pictures such as: Saturation, Exposure, ISO, Contrast, Brightness, and more! We will be going into detail about the different types of pictures like portraits and panoramics. We took some senior pictures of out friend, Hailey. We will be sharing the process of picking the perfect outfit, time for the lighting, makeup, and hair. Then we will share before and afters giving a description of how we edited to get the perfect picture turnout! Thanks for keeping up with our blogs & hope you enjoyed!! :D
Friday, May 6, 2016
Senior pictures of Hailey
Allison and I are so so happy with the picture turnouts of Hailey. We will be posting before and after editing the pictures and explain the editing process below. Hope you enjoy!

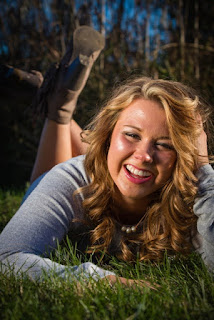


To get the best quality of the pictures we tweaked and edited them a little bit! Adding brightness gave the pictures more of a brighter appearance. Saturation made the overall color appear more vibrant. Contrast helped make the darker spots darker, creating a bigger contrast from the light and dark places in the pictures. Focus helped bring out certain spots of the picture and add a little blur to the others. In the last picture we added focus around Hailey's face to help make it the main focus of the picture. A little bit of sharpness can go a long way with helping some minor blurriness go away. Highlights and shadowing can help make the picture appear brighter or darker overall. With a little bit of practice and playing around with the different options for the pictures outcome, you can create the perfect picture!! Hope you enjoyed the pictures and blog.
Portraits
The other day, Cory and I got with senior Hailey Hutchison and took some (very late) senior pictures. We had a lot to do to prepare for this.
Our first step was to find out what time of day we wanted to take these pictures. We did not want to take them too late because if we waited until the sun went down we wouldn't have the sun which was a key part in the lighting. We also did not want to do it too early because we didn't want the sun to be too bright so that she couldn't open her eyes in the pictures. We took the pictures around six o'clock, right before the sun set so the sun is more of a soft glow then a bright, blinding light.
The second step was finding the right outfit. It was a little bit tough trying to find an outfit because it was not warm enough to wear shorts, but it was not cold enough to wear jeans. With the weather being a tricky temperature we decided to put our model in a gray flow t-shirt style dress. We chose this so she wouldn't be too hot or cold, and she could be comfortable while also being stylish.
The third step was hair and makeup. We wanted her pictures to be as realistic as we could make them. They are called senior pictures for a reason, they are supposed to capture you and what you looked like your senior year. It is not supposed to be something dramatic and you don't want to look like a different person. With Hailey we did simple looser curls with her hair, nothing too big just something she might casually wear to a nice event. For her makeup we went with a natural look with a little bit of bronzer to make her face glow and eyes pop a little bit, and for her eye-makeup we did a soft brown color making her hazel eyes stand out a little bit more. She looked stunning.
The final step was to go take her pictures. We couldn't have picked a better time of the day. We used our Cannon camera and reflectors to get the perfect picture. While one of us was taking the picture the other was holding the reflector giving off the perfect lighting. Thinking of poses was a little bit tricky, but we used some inspiration from pictures we had seen before on pinterest to help us. It was an honor and was very fun getting to capture these pictures. We will be posting some of our work in our next blog!
Thursday, April 28, 2016
Panoramic
Panoramic pictures are really great for outdoor environments where you are totally surrounded by beauty. This type of photo allows you to see your total surroundings and fit all of it into one picture! It really is an amazing thing. Last fall break Cory and I took a trip to Gatlinburg, Tennessee, which has some of the most breath-taking views. We stayed in a log cabin at the top of a very big hill. The view was outstanding and we were able to get some really awesome pictures from it. You do not have to have a fancy camera to take these types of photos because recently they have added this cool new feature to iPhones. That is what Cory and I used during this trip, and it took just as great of pictures as any fancy camera. The key to taking a good panoramic is taking your time and going slow with the motion. On the iPhone it is great because it gives you a line to follow for your picture so you don't have a blurry, edgy looking picture. It helps keep the photo straight in line, and it gives a warning for if you are going too fast. Here are a view examples of panoramic we got....amazing what even just an iPhone can do!


These are just a few examples of how much beauty a panoramic can fit into one picture! It is a nice simple way to get the picture you hoped for!


These are just a few examples of how much beauty a panoramic can fit into one picture! It is a nice simple way to get the picture you hoped for!
Sunday, April 24, 2016
Exposure
Exposure of a picture can make or break it. Learning how to get the best exposure of your picture will vary from personal interest, your camera, and the quality of the picture.
Exposure is controlled by the camera's light meter. The light meter determines what the proper exposure is; it all sets the f-stop and shutter speed. F-stop and shutter speeds on every picture to get the light right or the lightness and darkness and exposure.
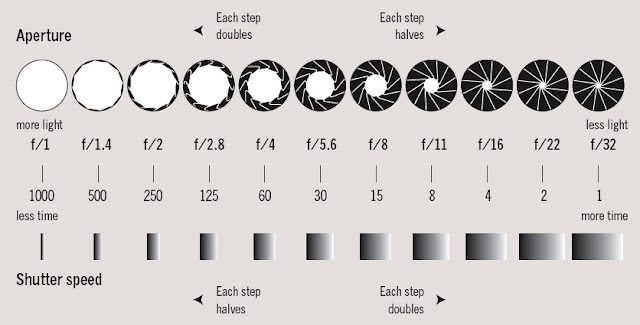
This picture will help explain how F-stop and shutter speed help capture light. The smaller the fraction the less light the picture will receive. The bigger the fraction the more light you will receive.
The next thing you need to learn about is the cameras "Manual Exposure" mode. Manual Exposure mode lets the photographer set the F-stop and shutter speed, allowing how much light intake there is. This is a very good feature because it really lets the photographer control his/her picture turnout.
Your camera is sensitive to lighting. Changing the ISO is important when taking pictures. In bright light set camera to be less sensitive and vice versa. When there is low light you need to raise the ISO from 100 to around 1600. This will allow enough light to come in needed for the picture.

Exposure is controlled by the camera's light meter. The light meter determines what the proper exposure is; it all sets the f-stop and shutter speed. F-stop and shutter speeds on every picture to get the light right or the lightness and darkness and exposure.

This picture will help explain how F-stop and shutter speed help capture light. The smaller the fraction the less light the picture will receive. The bigger the fraction the more light you will receive.
The next thing you need to learn about is the cameras "Manual Exposure" mode. Manual Exposure mode lets the photographer set the F-stop and shutter speed, allowing how much light intake there is. This is a very good feature because it really lets the photographer control his/her picture turnout.
Your camera is sensitive to lighting. Changing the ISO is important when taking pictures. In bright light set camera to be less sensitive and vice versa. When there is low light you need to raise the ISO from 100 to around 1600. This will allow enough light to come in needed for the picture.

These tips can transform your picture to many possible things. Whether it is Over Exposed, Under Exposed, or just perfectly Exposed, it will bring the best out of your picture. Hope these tips helped!! See you soon with more tips.
"A Beginner's Guide To Photography » Expert Photography." Expert Photography. N.p., 06 Nov. 2011. Web. 24 Apr. 2016.
"The Ultimate Beginner's Introduction to Exposure." Photo & Video Envato Tuts+. N.p., n.d. Web. 24 Apr. 2016.
Thursday, April 21, 2016
Sunset Pictures
A good sunset picture can come very easily. Especially here in Tennessee. We have some of the most beautiful sunsets, so this will come in handy.
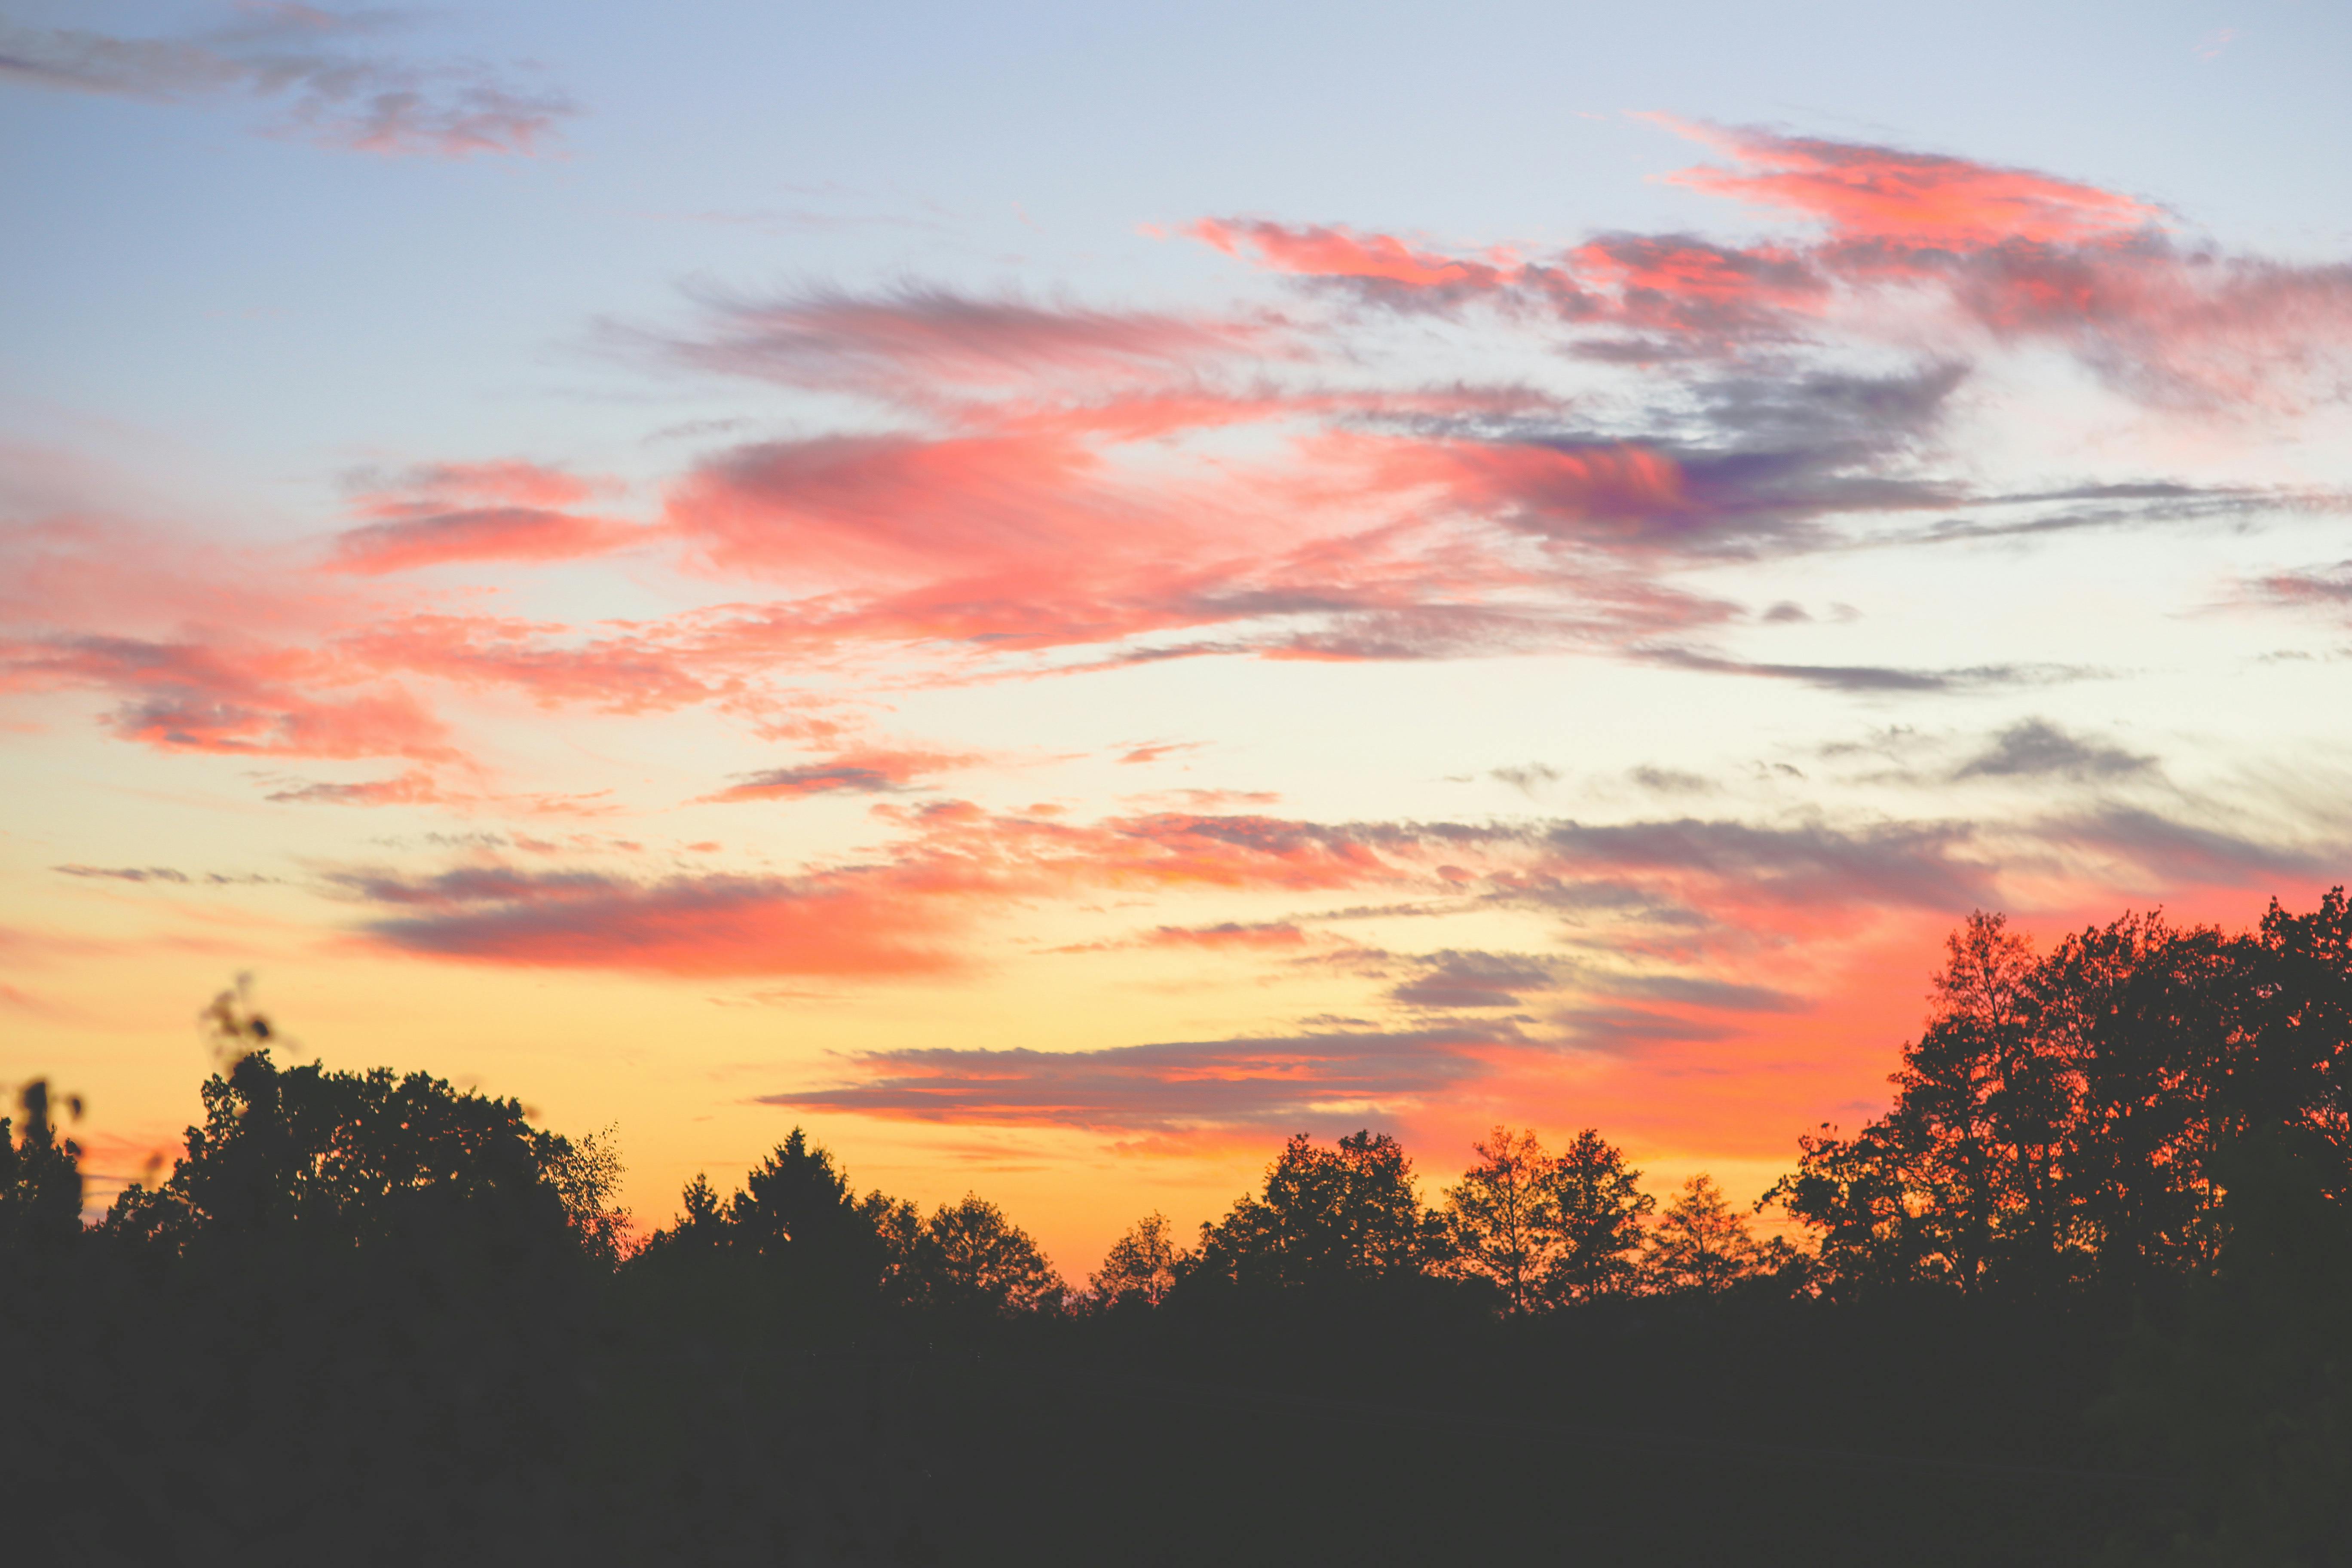
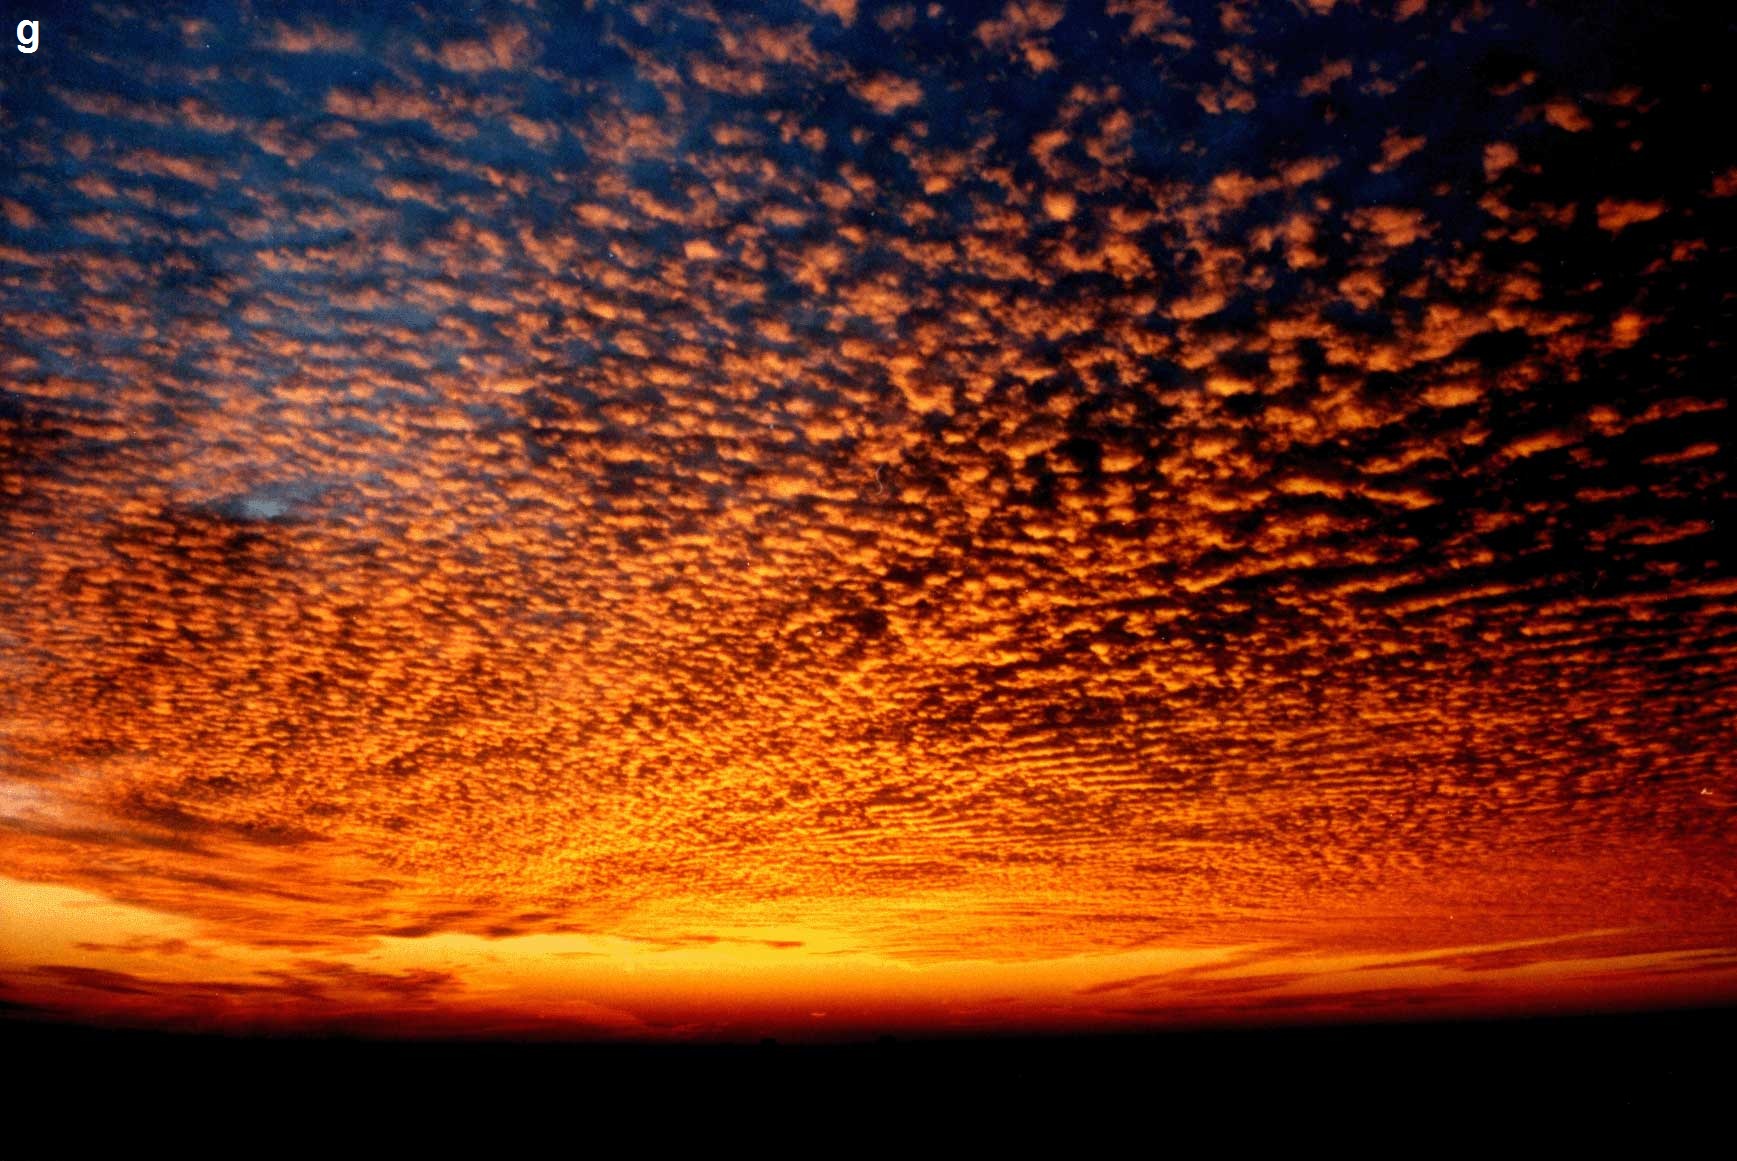
Some things to look for when taking a sunset picture is to look at all of your surroundings. The sunset might not be the only pretty thing. The light it reflects may give a pretty color in the sky behind you or beside you, and you can get a really great photo from that.
Also, make sure to stick around a little longer than you normally would. If you start taking pictures right when the sun sets then you will definitely get some good pictures, but there may be a better opportunity just a few minutes later. The darker the tone can sometimes mean the prettier the colors. So definitely be sure to wait around.


As you can see in the pictures about the picture on the left is an example of a lighter sunset, while the picture on the right is a darker sunset when someone waited. The multi colors are amazing in the photo to the right. It just goes to show that time can make quite the difference.
Also, trying out panoramas might be a good option. You can get a whole entire setting in one picture.

The photo above is a picture that I took the other day at Old Hickory Lake. It is a panoramic and you can see how from the left it transitions from a pink-blue color to a vibrant yellow where the sun was starting to set.
Sunset pictures are very fun to take and it great getting to see all the beauty that comes along with it!
Friday, April 15, 2016
Best Cameras for your money!
There are many great, expensive cameras you can buy; the best features, quality, and ideas of your interest will determine which camera you will purchase. Everyone is going to have a different take on what kind of camera will work best for them. Hopefully this blog will help decide the best camera for you!
The first thing you need to decide is what type of camera you want. There are so many different types, sizes, and models of cameras to choose from. Some of the most popular types of cameras are:
- Compact Digital Camera: These cameras are the perfect size when traveling and trying to capture moments. It can fit in a pocket or purse. It has a 3x zoom lens. It is in automatic mode. Along with automatic mode, it is equipped with many different scene modes such as: landscape, portrait, sports, and firework for many different occasions. Price: $ 70-300

- Bridge Compact Digital Camera: Although this camera is a lot like a compact camera, it is very different. The Bridge camera has a zoom like no other camera. It is often called "The Super Zoom". The Bridge is larger than the compact digital, but smaller than the DSLR. If you are looking for a good zoom camera this is the one for you. Price: $100-2000
- These are just some of the best cameras out there. You cannot go wrong with any camera you decide to purchase, all of them are great. I hope this article has helped you consider what camera you would like to purchase.
- http://easybasicphotography.com/Types-of-cameras.html
- http://www.r-photoclass.com/03-different-types-of-cameras/
Sports Photography
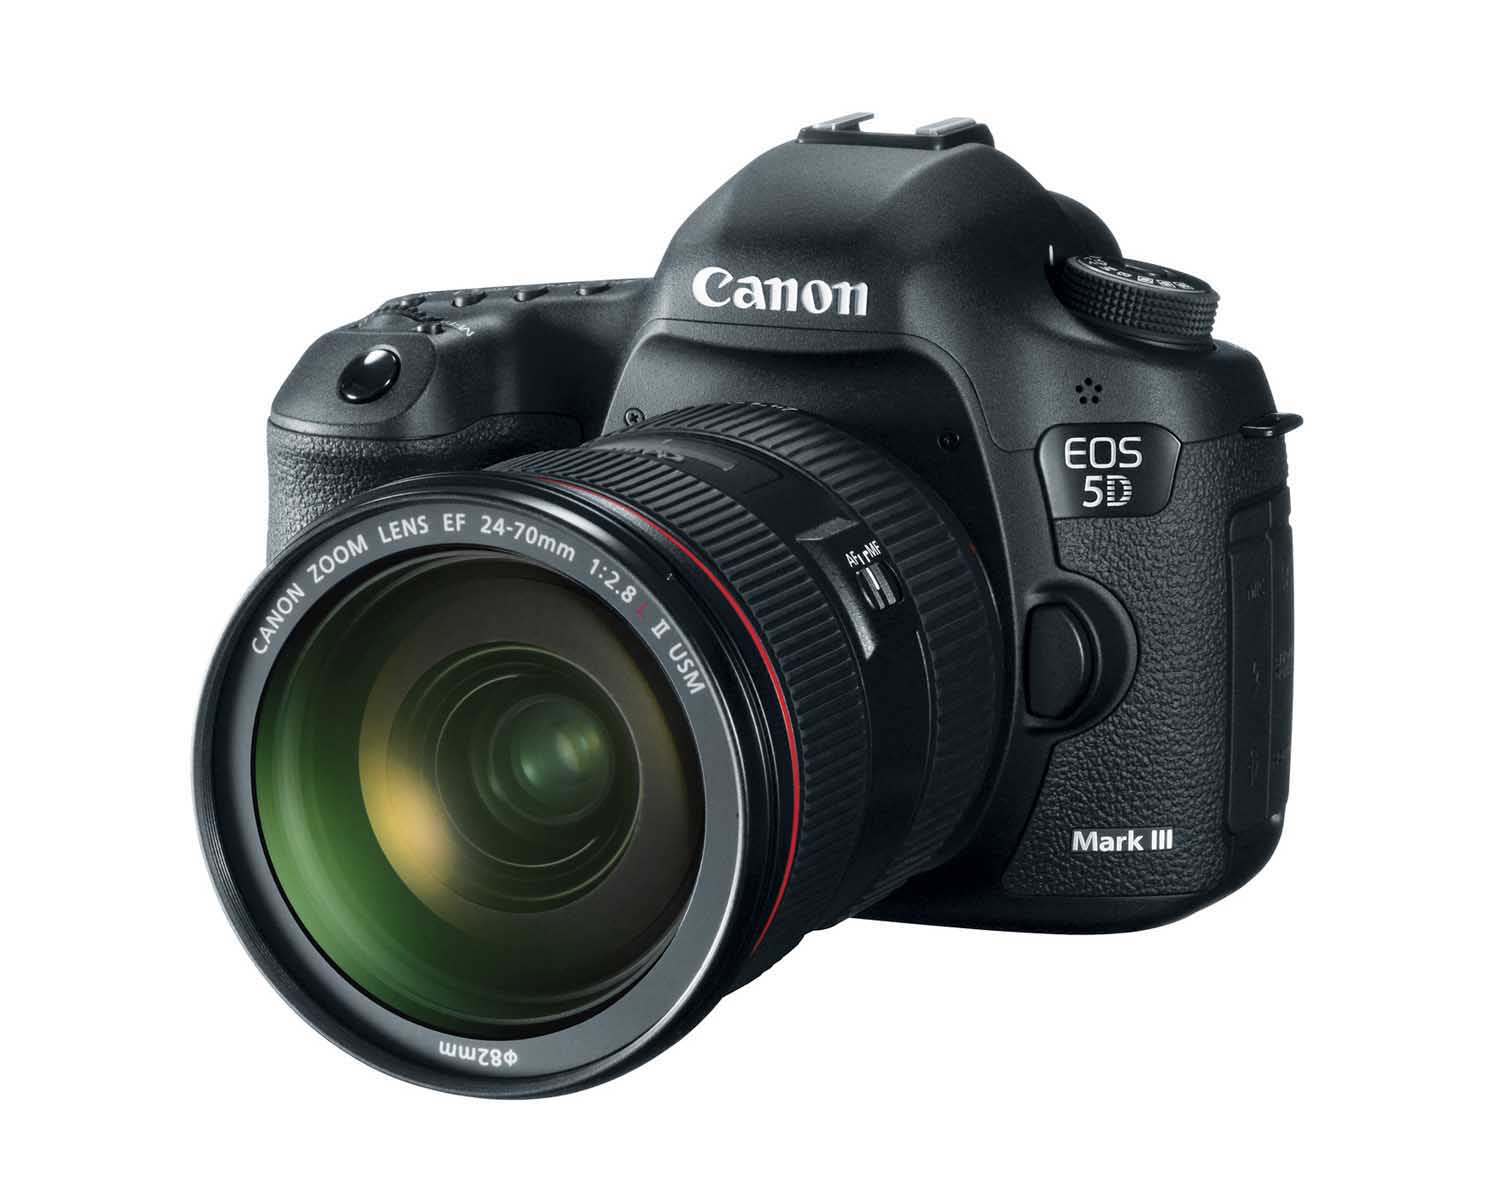
Sports photography is very, very common. From professional athletes getting pictures taken of them, to little kids running around on their parks teams, it is everywhere. It is very good to know, especially for parents of children who play sports. Moms and dad's want to capture these moments forever and it can sometimes be hard to get a good shot, especially when in action. The first step to getting a good sports photo is finding the right camera. A DSLR camera (digital single lens reflex camera ) is highly recommended. This camera includes a fast lens, so you are able to get your shot, and premium image quality and versatility. Two of the best ones are a Canon EOS 80D DSLR camera, and a Nikon D3300 DSLR camera which you can find at your local Best Buy.

Another tip to getting a good action shot, is being close to the even. The further you are away from the event, the blurrier the picture. It is best to be familiar with the spot you are shooting at so you know the best angles and positions to get the picture you are hoping for.

( Kids soccer game action shot )
Pictures can make a memory last forever. It is great that we have the technology advances that can help us with that!
http://photo.net/learn/sports/overview
http://www.marinmommies.com/files/image/norm_levin/287122848_dsc_5597.jpg
http://photo.net/learn/sports/overview
http://www.marinmommies.com/files/image/norm_levin/287122848_dsc_5597.jpg
Photography: White Balance
There are many aspects to taking good, high quality pictures. Anyone can take pictures, even if you aren't experienced at all. A little research can take you a long way. There are many things people struggle with. For example, understanding the concept of white balance. White balance is the color balance on a digital camera. It is not the quality of light but is the color of light. It is when you take a picture that comes out a different color or a different way then what you see in person. The picture may have a different color tint to it. No worries, there are ways to fix it through editing. Correcting color issues is generally very easy. It doesn't ruin the picture, and even greater, you don't have to be a pro at editing!

( Example of white balance editing )
As you can see above, the picture on the left is the original picture taken. It is a good picture of the building, but it is not what the photographer is seeing with their own eyes. After a quick edit, the photographer was able to make the picture look like what he/she saw in person.
The easiest way to figure out how to fix your picture is by going to youtube and watching a video. If you are not a visual learner, you can google search how to and read about what you need to know.
This is just one of the many things that comes along with being a skilled photographer!
https://photographylife.com/what-is-white-balance
https://upload.wikimedia.org/wikipedia/commons/6/64/Government_Center_Miami_color_balance_comparison.jpg
Subscribe to:
Comments (Atom)


