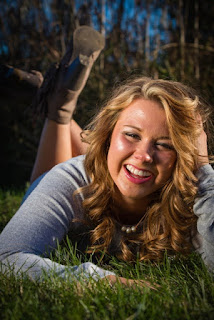

To get the best quality of the pictures we tweaked and edited them a little bit! Adding brightness gave the pictures more of a brighter appearance. Saturation made the overall color appear more vibrant. Contrast helped make the darker spots darker, creating a bigger contrast from the light and dark places in the pictures. Focus helped bring out certain spots of the picture and add a little blur to the others. In the last picture we added focus around Hailey's face to help make it the main focus of the picture. A little bit of sharpness can go a long way with helping some minor blurriness go away. Highlights and shadowing can help make the picture appear brighter or darker overall. With a little bit of practice and playing around with the different options for the pictures outcome, you can create the perfect picture!! Hope you enjoyed the pictures and blog.


Beautiful pictures, Cory. I like the before/after element. I do feel that this post would be better with some research behind it, perhaps going into more detail about saturation and color and providing tips for how/when to adjust them.
ReplyDeleteBeautiful pictures, Cory. I like the before/after element. I do feel that this post would be better with some research behind it, perhaps going into more detail about saturation and color and providing tips for how/when to adjust them.
ReplyDelete